Table of Contents
The bathroom is a very important room in the house due to its function and comfort. However, many elements can make it difficult or even impractical for people with reduced mobility or disabilities. If you are planning to design a bathroom for people with reduced mobility, you need to take into account several specific needs to ensure that the space is comfortable and safe for the disabled person. This design process involves a few steps that should be highlighted. So, how do you design a bathroom for people with disabilities or reduced mobility?
The choice of sanitary ware in a bathroom for disabled people with reduced mobility is crucial.
In your design of a bathroom for people with reduced mobility, it is essential to choose sanitary ware that is adapted to the disabled person, providing them with comfort and safety during use. Professionals from Sécur-O-Bain can guide you in this area.
Regarding the bath and shower space
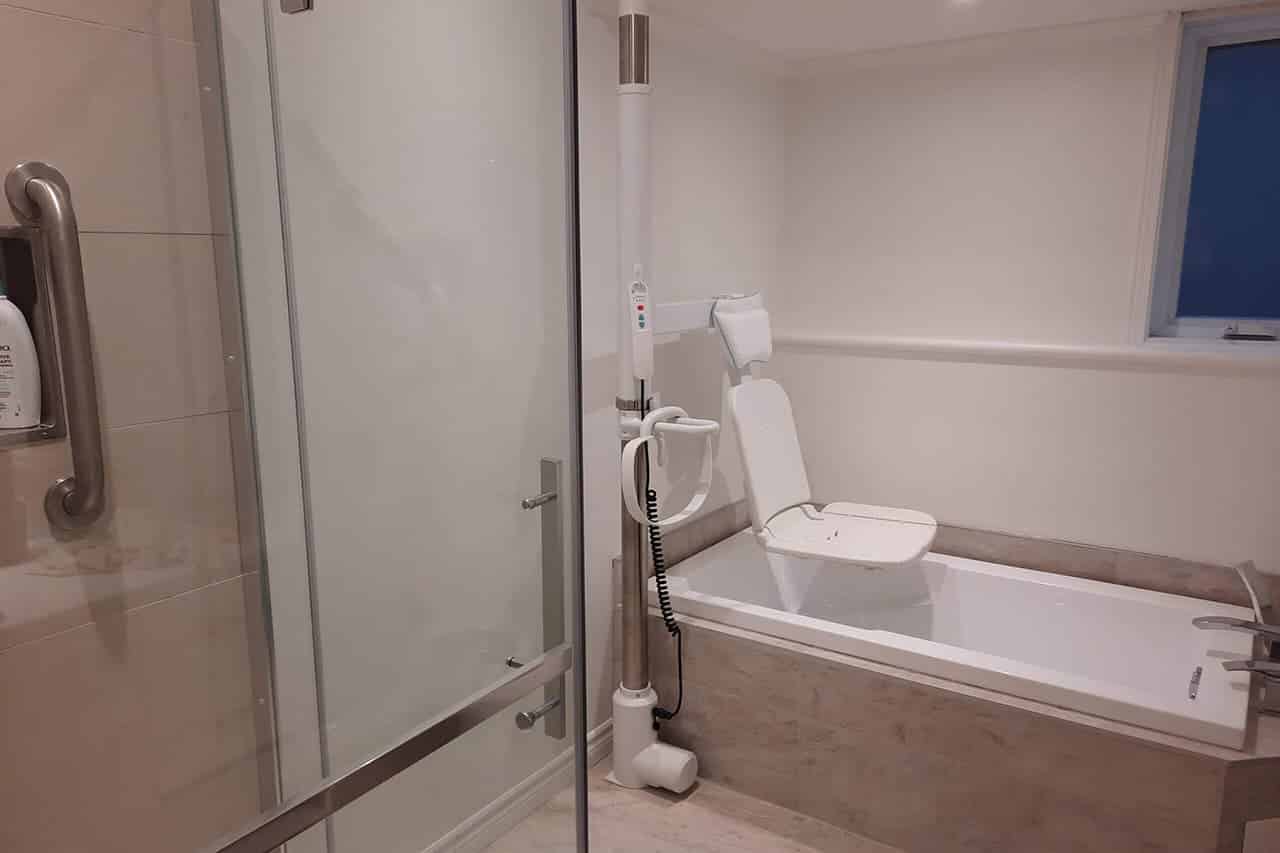
Taking, a bath for a person with reduced mobility can quickly become an unpleasant experience if it is not adapted. However, there are now effective solutions for people with reduced mobility to enjoy the pleasures of the bath safely.
The addition of a bath lift seat for people with reduced mobility is a highly recommended solution. This fully electric bath seat allows the disabled person to access the bathtub without having to make any dangerous movements, simply by pressing a remote control.
In addition, it is possible to install a grab bar to allow the person to hold on when needed, as well as a non-slip bath mat. These different tools make the bath accessible and ensure that the bathroom becomes a comfortable space for safe use.

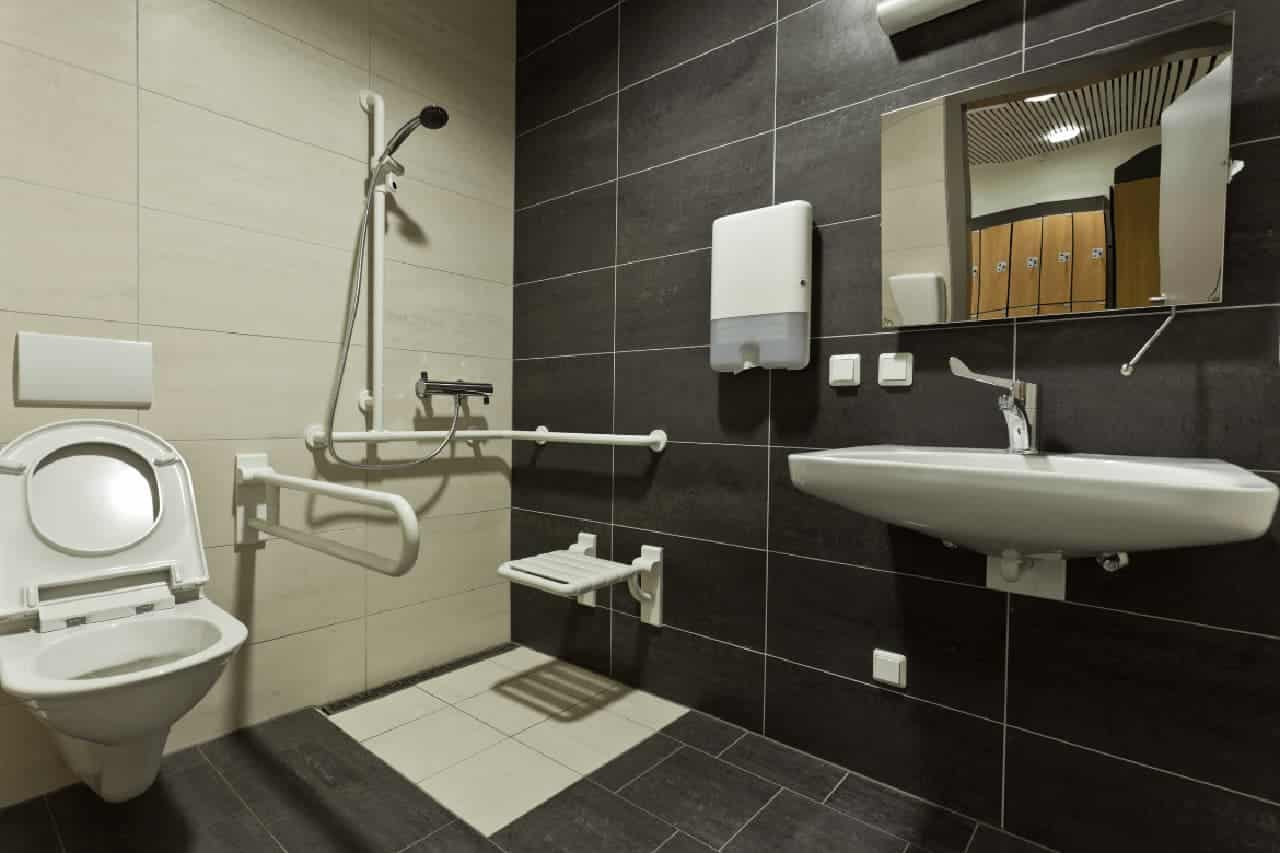
Les douches à l’italienne, en raison de leur facilité d’accès, sont les plus adaptées à une salle de bain pour The best showers for a bathroom for disabled people with reduced mobility are walk-in showers, due to their ease of access. However, installing walk-in showers like Italian style ones may be impossible. It is then advisable to choose a shower with an extra-flat tray that is no more than 2 to 4 cm in height. Regarding the doors, choose sliding doors with no threshold and wide enough not to be uncomfortable. Furthermore, for safety purposes, the shower must be equipped with some elements, namely:
- A non-slip tray;
- Access and support bars;
- Raised seats or bath chairs.
Inside the shower, the taps must be within reach, following the same principle as the washbasin. It is also important to choose a shower with a shower space of sufficient diameter to ensure that the person with reduced mobility is comfortable.
Regarding the washbasin
It is a crucial element in a bathroom for people with reduced mobility. Therefore, it is important to choose one with a thermostatic mixer tap to limit the risk of burns. You can also choose a faucet with an extended handle or a sensor faucet. The latter is an automated system that allows water to flow when the hands are close.
In addition, in a bathroom for people with reduced mobility, the washbasin must be within reach and accessible when sitting in a wheelchair. The bottom of the basin should have a maximum distance of 70 cm from the floor. Furthermore, it is advisable to opt for a self-supporting washbasin.
On the other hand, the siphon must be moved to facilitate access to the washbasin. For an extra level of safety, it is recommended to install support bars on either side of the washbasin.
About toilets
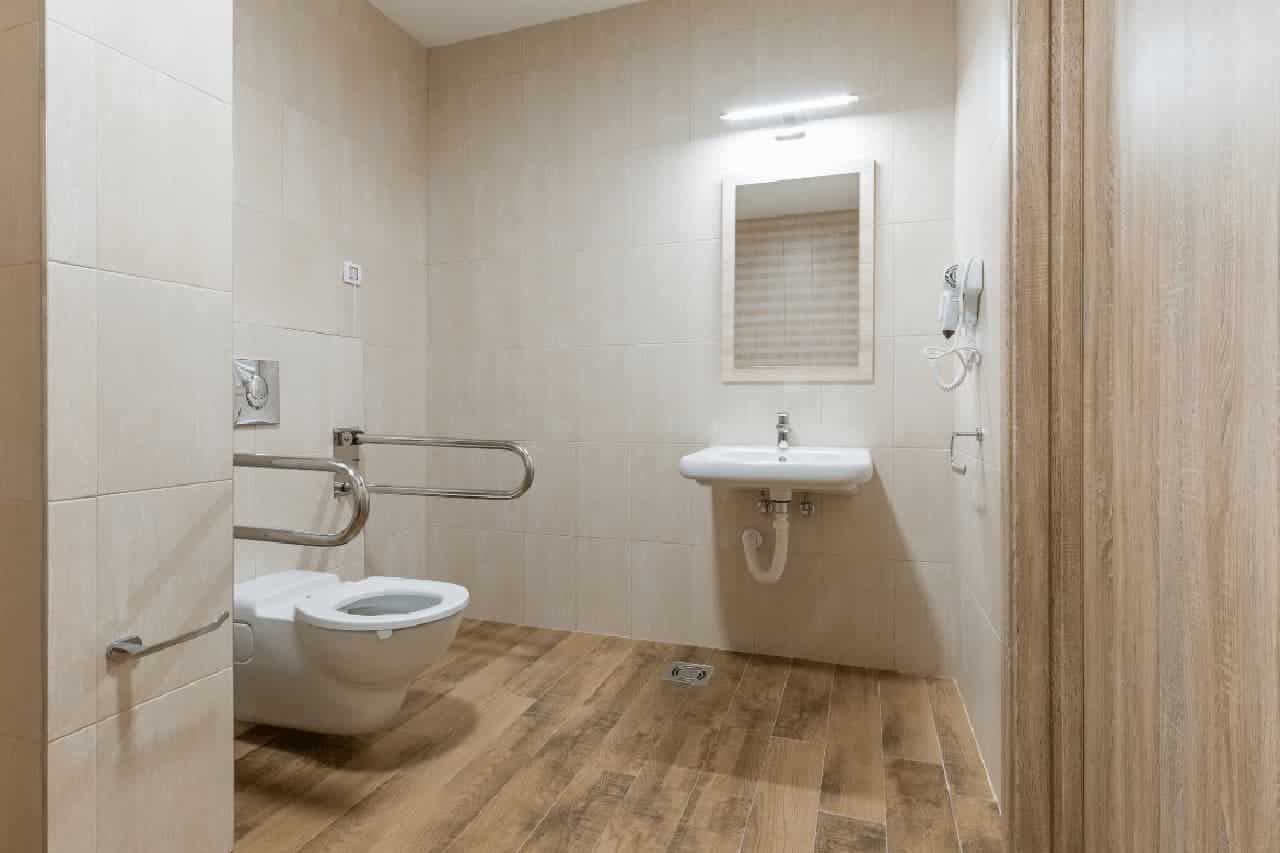
Toilets play a crucial role in the comfort of a bathroom for people with reduced mobility. Firstly, the free space must be enlarged to make access easier. In this regard, a rotation area of 80 x 130 cm should be established.
Moreover, to facilitate daily use of these WCs, it is recommended to choose those that are elevated. Thus, with a slightly higher toilet bowl height than the standard (about 50 cm from the floor), these toilets should be framed by support bars.
These support bars should be placed at 70 or 80 cm from the floor. Furthermore, it is recommended to place the bowl about 30 cm from the wall. This is necessary to make the movements of a possible assistant easier.

Choosing Accessories and Furniture for an Accessible Bathroom
Just like the toilets, the accessories and furniture that should be found in a bathroom adapted for people with reduced mobility are not chosen haphazardly.
About furniture
In a bathroom for people with reduced mobility, it is important to be strict about the minimum requirements concerning furniture. This has the particularity of freeing up usage space and airing the room. Moreover, it is strongly discouraged to install furniture with pointed angles. Think instead of installing shallow and easy-to-open furniture.
On the other hand, it is necessary to have a piece of furniture near the sink. Called a vanity, it is versatile and remains essential in a bathroom for people with reduced mobility. In any case, the furniture must be accessible. If you have concerns, you can seek the help of a specialist.
About accessories
The harmony of a bathroom for people with reduced mobility also depends on the arrangement of the accessories. Thus, for the main accessories, a special layout must be made:
- Providing a mirror for people with reduced mobility;
- Reviewing the lighting of the room and opting for easily accessible switches;
- Placing a shower seat and a towel holder near the shower.
One of the sacred rules for adapting a bathroom for people with disabilities is to fight against clutter.
Some general advice
The comfort of an accessible bathroom is a delicate task that requires a lot of care. The priority in such a room is to preserve as much as possible the space for movement and comfort.
Moreover, there are texts regulating infrastructures for people with disabilities in Quebec, for which the Régie du bâtiment du Québec (RBQ) is responsible. These various RBQ requirements are reflected in the above recommendations.
Aids provided by the Société d’Habitation du Québec
The Société d’Habitation du Québec, faithful to its mission, proposes to provide assistance to families of people with reduced mobility. With a legal framework and conditions to fulfill, this assistance is financial aid for the rehabilitation of the home of people with reduced mobility.
Two major conditions are mandatory to receive this aid of around 14,000 CAD. These are the establishment of a report by an occupational therapist certifying the disability and ineligibility for the allocation of the Société de l’assurance automobile du Québec’s insurance. In short, you are entitled to government assistance that will cover the costs of renovating several rooms of your residence.
If you want more information about installing a bath lift to adapt a bathroom for people with disabilities, don’t hesitate to contact Sécur-O-Bain! We will be happy to help you!

